Rails 5 Imgur Clone Tutorial…Part 1

Handle image upload and management painlessly with Carrierwave and Cloudinary and deploy on Heroku and share your photos fast with the world.
Hi everyone, today I’m going to show you how to do image share and upload in your Rails 5 application very easily. This is what I have learned by browsing several outdated tutorials, blog posts and a bunch of documentation. Most of the articles out there are older Rails version 4 so, I hacked together the steps for integrating into Rails 5 which I’m currently using on some of the projects and continue to use more. Plus in the process, we are going to build an imgur clone today by adding all the CRUD (Create, Read, Update, Delete) functionalities.
It is going to be a 2 part series explaining every bits and pieces. This tutorial is going to very beginner friendly and also suitable to intermediate to advanced users.
Now, let’s start some coding, shall we?⌗
First, let’s create a new rails project in your terminal by doing:
rails new rimgur
It’s always good practice to start using Git right away so, we are going to follow the same practice here:
git init
git add .
git commit -m ‘project init’
Let’s test our app in the browser by using this command to boot up our server.
rails server
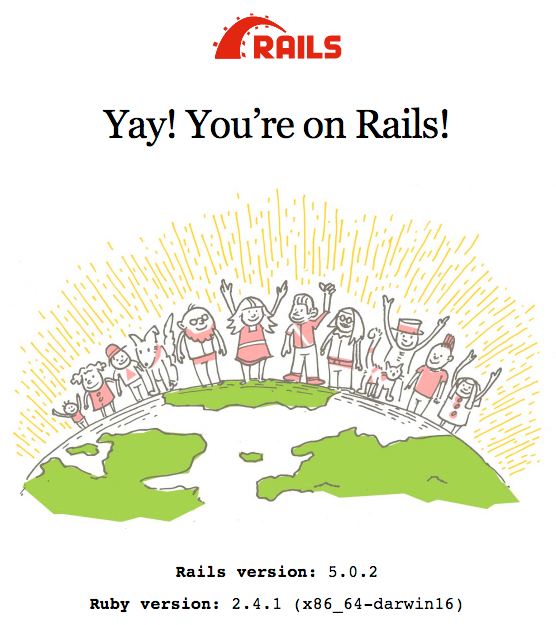
And then go to localhost:3000 in your browser. You will see this.

Great, your app is running successfully. Open the project in your favorite IDE or text editor.
Now we are going to create a controller.
rails generate controller pics
Open file pics_controller.rb and an action index
class PicsController < ApplicationController
    def index
    end
end
Create a view file for our index action in app/views/pics/index.html.erb
Open index.html.erb and write some dummy text like “Hello”
Now, we are going to create a route to display the page.
Go to config/routes.rb and write this.
Rails.application.routes.draw do
    root 'pics#index'
end
Okay, this line simply means you are setting root path to pic controller and index action.
And you should “Hello” or whatever you wrote.
Now, we are going to create our model like this.
rails generate model Pic
Awesome, now we have some routes and model setup and now we can start integrating our image handling system.
First, open your Gemfile and then put these right anywhere in middle.
gem 'carrierwave'
gem 'cloudinary'
Second, run bundle in your terminal to install the gems and then restart your server.
Third, we will generate our image uploader like this.
rails generate uploader Image
Go to app/uploaders/image_uploader.rb and add this inside our class.
include Cloudinary::CarrierWave
And comment out everything else in the file. IMPORTANT!
Now, create a new file in the config/initializers directory name cloudinary.rb and then add this.
Cloudinary.config do |config|
    config.cloud_name = ENV['CLOUDINARY_CLOUD_NAME']
    config.api_key = ENV['CLOUDINARY_API_KEY']
    config.api_secret = ENV['CLOUDINARY_API_SECRET']
end
Okay, let me explain this. We are adding all the configuration variables dynamically and securely. I’ll explain later more in details.
Open app/models/pic.rb and then put this.
class Pic < ApplicationRecord
    mount_uploader :image, ImageUploader
end
And then run rails db:migrate to add our schema. Your db/schema.rb should have something like this:
create_table "pics", force: :cascade do |t|
  t.datetime "created_at", null: false
  t.datetime "updated_at", null: false
end
Now we’’ll generate a migration to add our image uploader to pic model
rails generate migration add_image_to_pic
Open your add_image_to_pic.rb and add this.
class AddImageToPic < ActiveRecord::Migration[5.0]
    def change
        add_column :pics, :image, :string
    end
end
And then run rails db:migrate to add it to our schema.
Great, our database part is done and now we going to add CRUD functionalities to our app.
Open your routes.rb file like this
resources :pics
Let’s check our routes by doing rails routes in your terminal. And you should all the actions routes.
Create all the action methods like this in your pics_controller.rb
class PicsController < ApplicationController
  def index
  end

  def new
  end

  def create
  end

  def edit
  end

  def show
  end

  def update
  end

  def destroy
  end
end
Thanks, everyone for reading it so far, hope you enjoyed it. In the next part, we will finish our application and also take it live. See you, in the next one.